Make more plants with less waste in your Australian yard or balcony. This guide shows how cuttings — a quick form of asexual propagation — let you multiply favourite varieties and save money. Morning is often best for taking cuttings because specimens are well hydrated and recover faster.
Sharp, clean tools and simple recycled containers like jars, bottles or take-away tubs boost success when you prepare drainage and hygiene. I’ll outline choosing parent plants, building a low-waste station, taking and striking cuttings, and potting up with minimal waste.
Keep biosecurity front of mind: only propagate known species, take material ethically, and inspect for pests. Expect common issues such as wilting, rot or slow rooting; small changes to light, moisture and airflow usually fix them. For a practical step-by-step, see this guide on how to propagate from cuttings.
Key Takeaways
- Cuttings give genetically identical offspring, ideal for many herbs and shrubs.
- Use sharp, sterile tools and hydrated parent material for best results.
- Recycled jars and bottles work well if you add drainage and keep things clean.
- Watch light, humidity and airflow to avoid rot and speed rooting.
- Only propagate plants you can identify and do so ethically.
Why propagate from cuttings for a more sustainable garden
A well-chosen cutting gives you the same flower colour and habit as its parent, without the guesswork of seeds. That makes cuttings efficient when you want to multiply proven performers that suit your local environment.
Cuttings versus seed propagation: clones, traits and biodiversity trade-offs
Cuttings produce clones of the parent plant, so they lock in desirable traits like colour, size and productivity. Seeds, by contrast, support genetic diversity and may produce variation that helps species adapt.
Relying only on clones can shrink biodiversity in a garden. Balance is simple: use both cuttings and seed-grown plants to keep variety and resilience.
Choosing a healthy parent and taking material ethically
Checklist for a good parent plant:
- Vigorous growth with no black or mushy stems
- No obvious pests or fungal spots
- Stems at the right stage for the season (not woody or overly soft)
Always ask permission, take small amounts and use clean cuts. Don’t rip material off—a sharp snip protects the parent and improves success.
Prevent weed spread and disease: identify before you multiply
Only propagate plants you can name. Unknown species may be weeds or invasive. Selecting disease-free material also reduces fungal problems and protects other plants.
| Factor | Cuttings | Seeds |
|---|---|---|
| Genetic outcome | Clone of parent | Variable offspring |
| Trait reliability | High (flower colour, habit) | Low to medium |
| Contribution to biodiversity | Lower if used alone | Supports diversity |
| Practical tip | Choose healthy parent plant; make clean cuts | Use local seed to build resilient stocks |
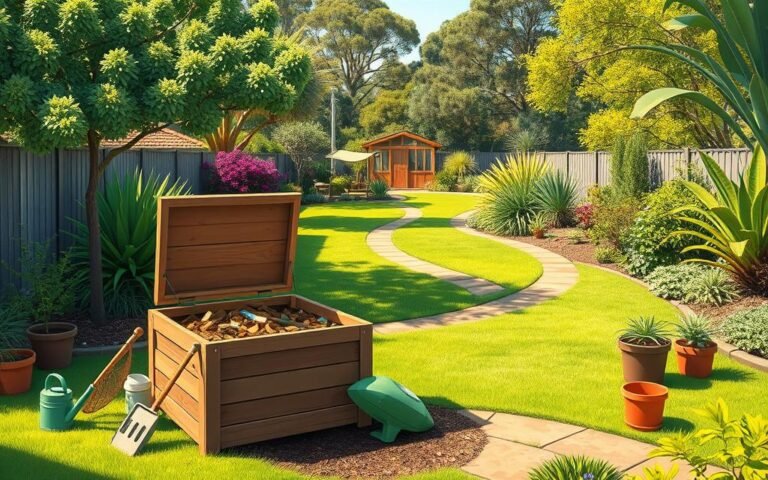
Recycled, low-waste propagation set-up for Australian home gardeners
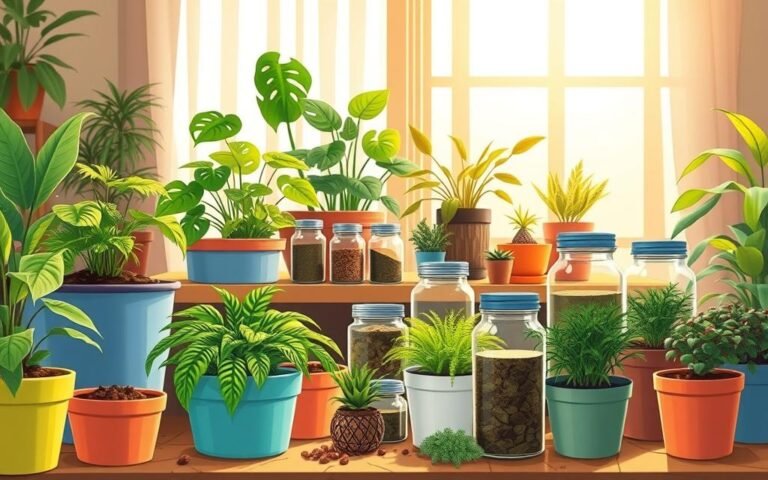
You can build an effective propagation station at home using recycled jars, drink bottles and clear punnets. These items perform well if you add drainage and keep things clean.

Reused containers that work
Shallow punnets suit many small cuttings. Deeper bottles hold taller stems. Jars are handy for water rooting.
Make holes for drainage so media and soil do not stay soggy and invite rot.
DIY humidity hoods and sun safety
Cut clear bottles or use a plastic cloche as a hood to raise humidity and temperature. Keep covered cuttings out of direct sun to avoid overheating or “cooking” them.
Misting helps control moisture and temperature without waterlogging the mix.
Clean tools and free-draining media
Use sharp secateurs or scissors and wipe blades between uses. Start with clean containers to lift strike rates.
Choose a free-draining mix such as sand, perlite or a lightweight potting mix. These hold enough water for roots but cut down rot and re-dos.
| Container | Best use | Key tip |
|---|---|---|
| Shallow punnet | Many small cuttings | Good drainage, cover for humidity |
| Cut bottle / cloche | Taller stems, micro‑climate | Avoid direct afternoon sun |
| Jar (water) | Water rooting easy growers | Change water regularly; move to soil when roots form |
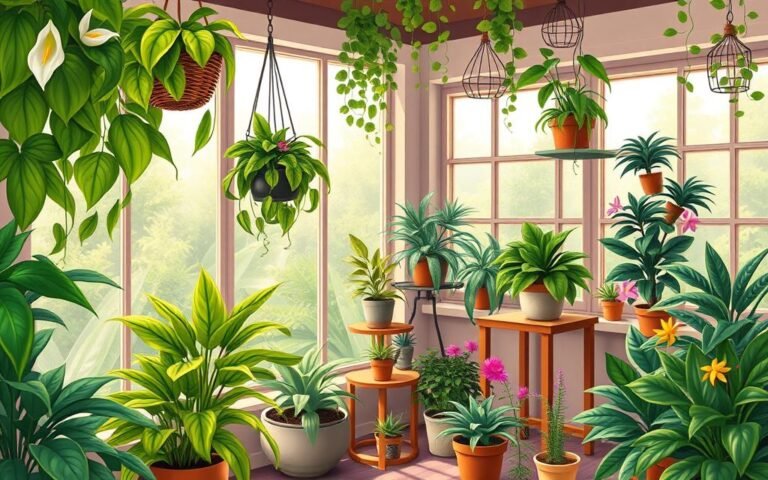
Place the station in bright, indirect light with shelter from wind and hot afternoon sun. Stable conditions suit plants best and reduce stress.
Quick troubleshooting: condensation is normal, but if media stays soggy and air is stale, open the hood briefly to improve airflow.
sustainable plant propagation methods for taking and striking cuttings
Match the cut type to season for best results. Softwood cuttings in spring and early summer strike fastest. Semi-hardwood suits mid to late summer after flowering. Hardwood from late summer into autumn takes longer but is plentiful after pruning.
How to take a reliable cutting
Choose a healthy stem and cut 10–12 cm with 2–3 nodes. Make the lower cut on an angle just beneath a node. Keep the top cut above an upper node.
Nodes, nicking and leaf prep
Nodes form roots below the soil and shoots above it. Protect nodes from crushing. A gentle nick below the lower node can help, but do not damage the node itself.
For broad leaves, keep only the top two and halve very large leaves. For narrow leaves, remove the lower two thirds so multiple nodes can root.
Rooting hormone and natural options
Use rooting hormone lightly on woodier material. Honey is a simple natural dip. Willow-water is reputed to help; avoid leaving willow pieces in the mix because willow can be weedy.
Planting and water rooting
Pre-moisten a free‑draining mix, make a hole first and insert to bury the lower node(s). Cluster cuttings in one container and cover with a clear hood out of direct sun.
For water rooting, use a clear container, keep leaves above water, change water every 3–4 days and pot once roots reach 2.5–5 cm.
| Cut type | Season (Australia) | Speed to root |
|---|---|---|
| Softwood cuttings | Spring–early summer | Fast (days–weeks) |
| Semi-hardwood | Mid–late summer | Moderate |
| Hardwood | Late summer–autumn | Slow (weeks–months) |
Creating the right rooting conditions and solving common problems
Good rooting starts with steady targets for light, temperature and moisture. Aim for bright, indirect light and stable air around 20–23°C. Keep the media warmer, about 20–25°C, to speed root formation without stressing cuttings.
Light, moisture and temperature targets for rooting success
Keep media consistently damp but never waterlogged. Check drainage holes and avoid trays sitting in pooled water. Misting helps at first, then taper it as roots appear to lower fungal risk.
Preventing wilting, rot and fungus
Too wet + too warm + stagnant air is the most common failure under homemade domes. Add a small vent gap on the hood to keep airflow without losing humidity.
If leaves wilt, reduce leaf area, move cuttings to gentler light and boost humidity briefly. For rot, switch to a freer-draining mix, clean tools and remove failing cuttings right away so problems do not spread.
How to tell if roots have formed
Look for new top growth and then test by very gently rocking the cutting. A small resistance signals root anchorage. Be patient: some shoots show leaf growth before a strong root system develops.
Simple log tip: note the date, temperatures and the propagation techniques you used. Small records help refine success with different plants and environments.
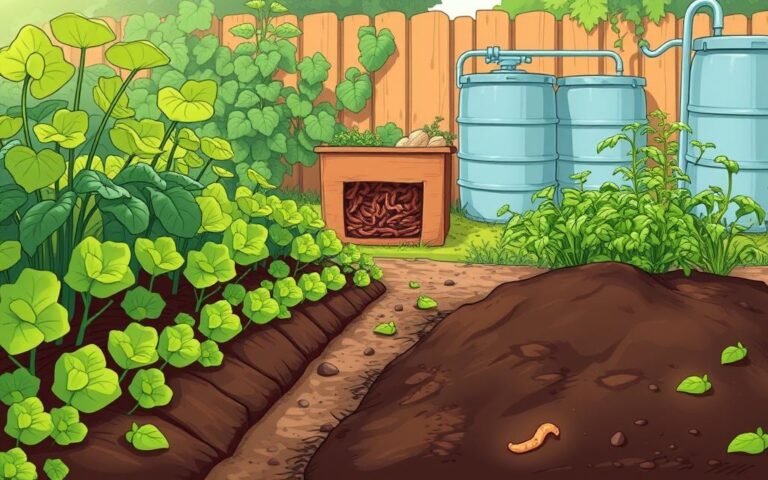
For compact living gardeners who also care for soil and organic cycles, see advice on small-apartment composting to reuse kitchen scraps and improve your medium.
Potting up, hardening off and planting out with minimal waste
Move cuttings into fresh pots once new growth appears and the roots hold the mix together. This cue beats guessing by calendar days and gives better results for new plants.
When to pot up and how to handle roots
Tip the clump onto newspaper and keep the root ball intact. Gently tease young roots apart rather than ripping them to reduce shock.
Sustainable aftercare
Water in with a weak seaweed solution or worm leachate tea to kickstart establishment. Keep the new plant in a sheltered spot and increase exposure over a week or two to harden off.
Potting on or planting into the garden
Pot on when the root mass fills the pot. Move to a prepared garden bed when soil and weather suit and roots are vigorous.
Legal and sharing notes
Plant Breeders Rights (PBR) in Australia let you propagate many varieties for personal use but not for resale without permission or royalties; check labels for the PBR symbol.
Share respectfully: only pass on healthy, labelled plants and avoid spreading pests or misnamed varieties.
Other eco-friendly propagation techniques to grow more new plants
There are simple, low-waste approaches that work when stems won’t root from ordinary cuttings. These ways often suit specific species or parts of a garden and need little specialist gear.
Layering for climbers and shrubs
Simple layering is an easy way to get roots on a stem while it stays attached. Bend a flexible stem, lightly scrape the bark, bury that section and pin it down. Keep the tip above ground and sever the new plant once strong roots form.
Air layering for woody material
Air layering suits woody shrubs and some indoor species. Make a small wound in the stem, add a little rooting aid, wrap moist sphagnum or a similar medium in plastic and tape it closed. Roots appear through the wrap; then cut and pot the new piece.
Division and quick multiplication
Division is the fastest way for clumping perennials and bulbs. Lift the clump, split so each piece has shoots and roots, and replant immediately. Reuse pots, plant at the same depth, water in well and mulch with garden scraps to reduce waste and help growth.
Grafting as the next skill
Grafting joins a scion to a rootstock to combine vigour or disease resistance with a desired variety. It takes practice and clean cuts, so treat it as a next-step technique once you’ve tried layering and division.
| Technique | Best for | Key tip |
|---|---|---|
| Simple layering | Flexible climbers, shrubs | Keep buried node moist; sever when roots visible |
| Air layering | Woody shrubs, indoor species | Use clean wound, moist medium and inspect through wrap |
| Division | Clumping perennials and bulbs | Ensure each piece has roots and shoots; replant quickly |
| Grafting | Fruit trees, some ornamentals | Practice neat joins; maintain hygiene and support union |
Choose a way by species and stem type. Master one technique, record results, then add another to suit your microclimate and soil.
Conclusion
A small kit, steady care and a bit of patience deliver reliable results for Aussie gardeners.
Key takeaway: you can grow more plants with less waste by pairing smart cuttings technique with recycled containers and a free‑draining mix. Use cuttings when you want identical offspring and seeds when you want diversity and resilience in the garden.
The big three for success are clear: healthy parent material, clean sharp tools, and stable rooting conditions for light, moisture and temperature. Prevent rot by prioritising drainage and airflow, especially under DIY humidity hoods in warm weather.
Start small: try a few easy cuttings or water rooting trials, label everything, share responsibly and check PBR rules before selling. Then branch out to layering and division to find the best way for each species.